
PopCorn
New member
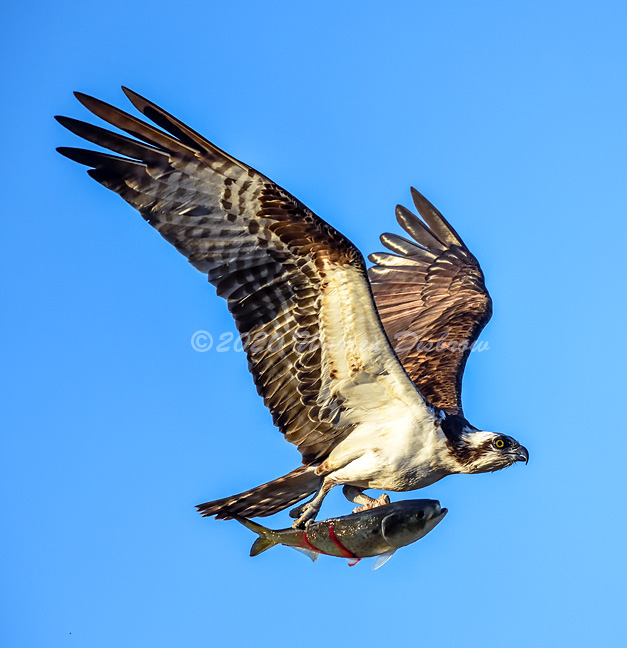
In most cases when I am photographing BIF I end up with a blown sky.
In South Africa, our skies are so bright they are often washed out to start with.
I shoot using Manual with auto ISO on my Nikon D500 using a Nikon 200--500mm zoom.
Depending on the position of the sun, I normally have to allow 2 to 4 stops of exposure compensation to get the correct exposure on the subject.
The sky is totally blown. Trying to rescue it by using the ACR corrections is not effective, even if the corrections are applied selectively to the sky, there are just no pixels to process!.
To rescue the image I have now resorted to taking a separate image, exposed for the sky.
I then have to replace the sky in the image exposed for the bird with the image exposed for the sky.
This increases the processing time and normally results in image halo problems, particularly if the bird is a raptor and dark.
Is there any technique that can overcome this problem?
I am using Photoshop Elements 2018 with Elements+ to process.
 .
.