Just to satisfy my own curiosity regarding the original tenet of this post (that there appears to be no IQ advantage to shooting log and some disadvantage in the extra work required to edit it - hopefully that is a faithful summary! ) I test-shot an indoor scene, once in standard and then again in log. The key aspects of the test were:
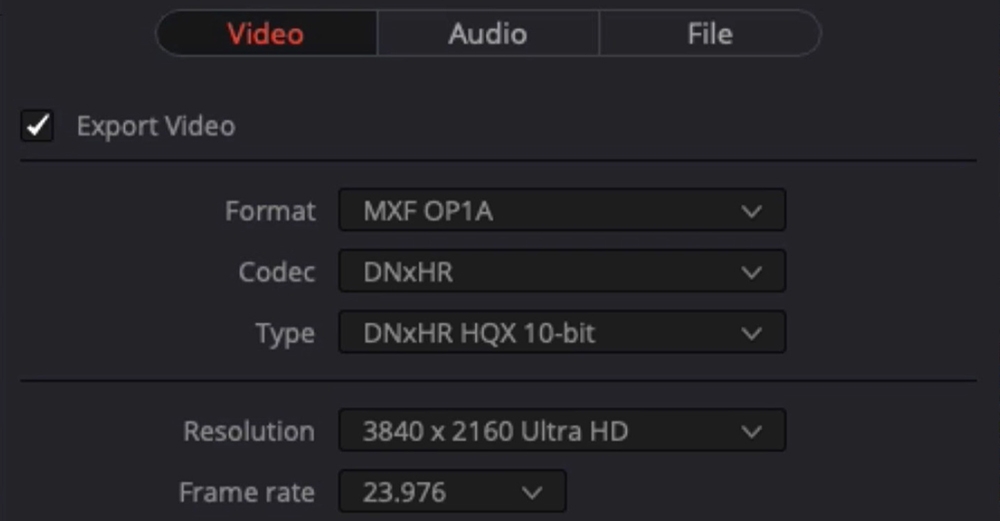
1. All footage-8k/30 10 bit 4:2:0 Sensor ISO 100 / non Log footage-Rec.709 / log footage-Rec.2020
2. I used the same exposure for both clips (i.e. same shutter angle, same aperture) and clipped no highlights.
3. I processed two copies of the non-log footage; one copy edited directly in the input colour space of Rec.709 (clip a) and the other copy transformed to DaVinci Resolve Wide Gamut and then transformed back to Rec.709 for output (clip b).
4. The log footage I used two transforms - one from the input space of Rec.2020 to DaVinci Resolve Wide Gamut for editing and then from DaVinci Resolve Wide Gamut to Rec.709 for output (clip c)
5. No editing was done to the log footage other than to drop it into a timeline template pre-configured in DaVinci Resolve with the colour space transforms set out in (4) above. The other two clips were edited in DaVinci Resolve to try to resemble as closely as possible the log footage.
This is the scene.
Clip a:
View attachment 105370
Clip b:
View attachment 105371
Clip c:
View attachment 105372
And a crop of the shadow area where the focus is also directed:
Clip a:
View attachment 105373
Clip b:
View attachment 105374
Clip c:
View attachment 105375
What can we then say about this? I think the following:
1. Slightly more colour information is available in the shadows of the log footage. This may be due to the wider colour space the log footage is encoded to combined with log footage shadows being encoded with the higher bit depth usually associated with the mid-tones. The benefit is subtle but is there.
2. The log footage, once placed in the correct colour managed environment, looks materially better than non-log clips before editing. After editing two non-log clips, they still do not look as good as the unedited log clip.
3. Editing the non-log clip in the intermediate colour space does appear to confer some benefit.
4. Much more work is required to make any proper conclusions, work I am not inclined to do! But this work should include comparisons made at higher ISO, different Codecs and different Chroma sampling rates. Suffice to say that for my current workflow and equipment and for the subtle IQ benefit and significantly less editing work required, I am satisfied to use Log as my "go-to" for the time being until further work is done to persuade me otherwise!


")

