bajadreamer
Well-known member
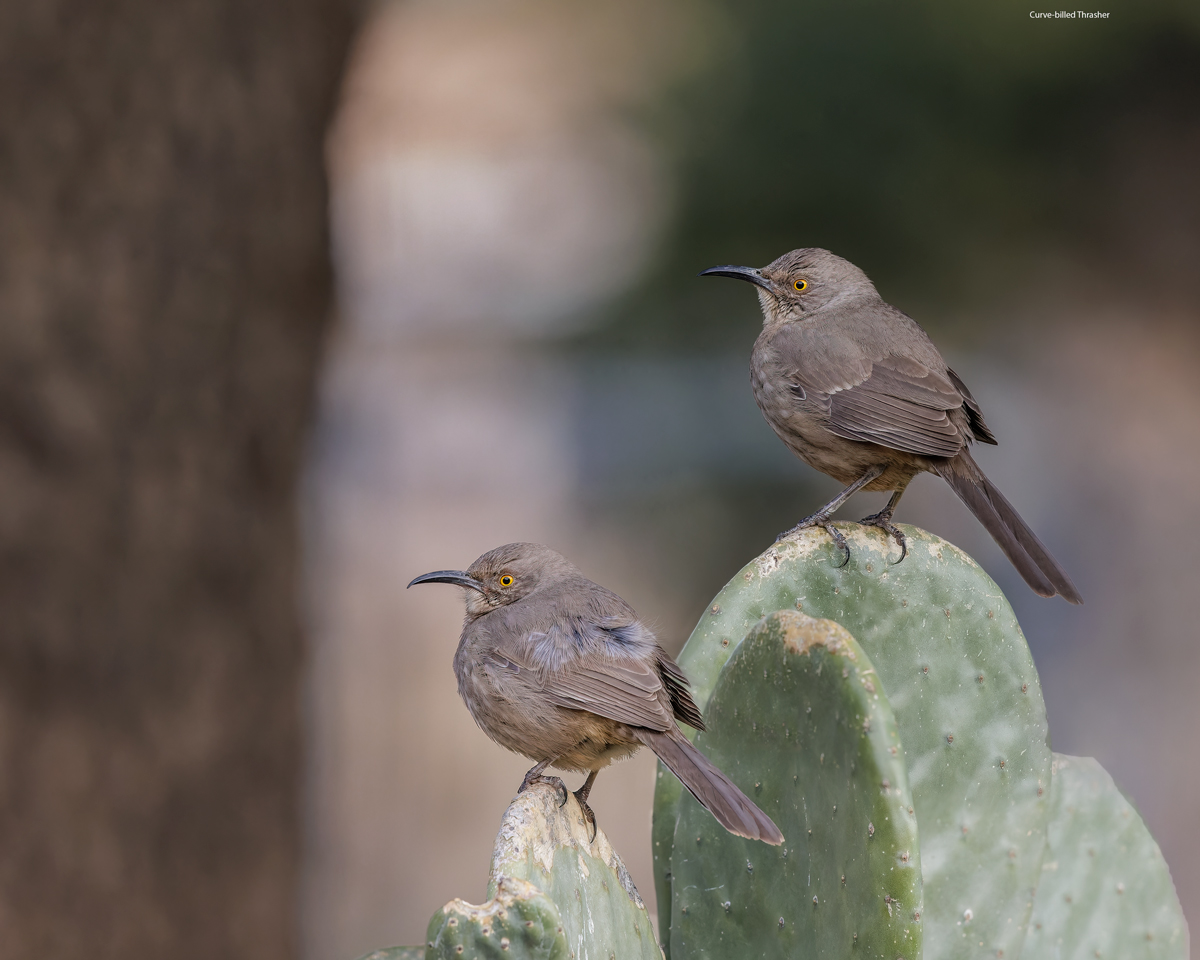
This is another example of using Steve's technique for having 2 subjects in the same image that are not in the same focal plane. These are Curve-billed Thrashers waiting for the sun to warm them in SE Arizona. They sat in roughly the same position for over 1 minute; enough time for me to spot focus the bird on the left and then shift the spot focus to the bird on the right. In PS I used the Clone Stamp to insert the focused bird on the right (replacing an unfocused bird) into the image with the focused bird on the left. My questions to you are two.
First, does it look "real" to you?
Second, unfortunately I could not move to my left so there is a tree in the background and further back there was a entry gate into a driveway. I attempted to darken the entry gate (the white area to the immediate left of the bird on the left) but it still appears distracting to me. I used a Curves layer and painted it on this area. Any other thoughts on how I might mitigate this?
You can only see EXIF info for this image if you are logged in.


